The journey from Figma designs to a fully functional website involves bridging the gap between creativity and code. While Figma empowers designers to craft stunning designs, translating those designs into HTML code is essential for web development. In this comprehensive guide, we’ll walk you through the process of converting Figma designs to HTML code. Plus, we will explain how you can seamlessly integrate the HTML code into a WordPress website.
Whether you’re a designer looking to expand your skill set or a developer seeking to translate designs into a website, this guide will equip you with the knowledge and tools needed for success. Let’s dive in!
1. Steps to Convert Figma Designs to HTML Code
Before diving into code, export assets from Figma, such as images, icons, and fonts. This ensures that you have all the necessary resources for building your website.
- Structure HTML: Start by creating your website’s basic structure using HTML. Next, divide the layout into header, footer, navigation, and content areas. Also, use semantic HTML elements for better accessibility and SEO.
- Style with CSS: Style your HTML elements according to the design in Figma using CSS. Pay special attention to typography, colors, spacing, and alignment. Furthermore, CSS frameworks like Bootstrap can streamline the styling process and ensure responsiveness.
- Convert Designs to Code: Break down the Figma design into individual components and translate them into HTML and CSS. Consider details such as margins, padding, and border-radius to maintain fidelity to the original design.
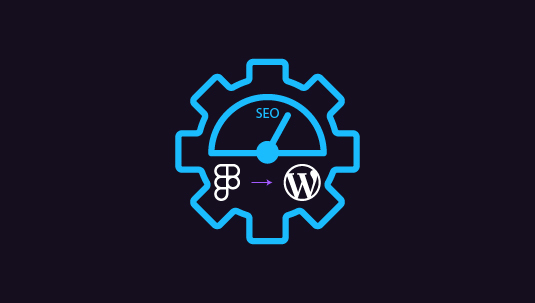
- Optimize for Performance: Optimize your HTML and CSS code for performance by minifying files, compressing images, and leveraging browser caching. This ensures faster page speed, loading times, and a better user experience.
Learn: Tips and Tricks for Figma to WordPress Conversion
2. Building a WordPress Website: Follow These Steps
Install WordPress on your server or local development environment if you haven’t already. Then, follow the installation instructions provided by WordPress.org to set up your website.
- Choose a Theme: Select a WordPress theme that closely matches the design of your Figma prototype. Alternatively, you can develop a custom theme using the Underscores starter theme or a similar framework.
- Customize the Theme: Customize the chosen theme to match your Figma design’s elements and layout. This may involve modifying CSS styles and template files and adding custom functionality using PHP.
- Integrate HTML Code: Insert the HTML code generated from your Figma designs into the appropriate template files of your WordPress theme. Ensure that the code is appropriately integrated and responsive across different devices.
- Add Functionality: Enhance your WordPress website with plugins to add functionality such as contact forms, sliders, and pop-ups. Install essential plugins like All in One SEO for better search engine optimization.
Read: How to Migrate a Site from Figma to WordPress
In Summary
Converting Figma designs to HTML code and building a WordPress website requires careful planning, skill set, attention to detail, and a good understanding of web development principles. Following the above steps, you can seamlessly transition from design to development, creating a stunning and functional website that meets your client’s needs.
Also, remember to test your website across different devices and browsers to ensure compatibility. Simply put, with the right tools and techniques, you can turn your Figma prototypes into WordPress websites that leave a lasting impression.