Converting Figma to WordPress using Oxygen Builder can bring your creative vision to life. Figma is a favorite among designers for its collaborative features and intuitive interface. On the other hand, WordPress, paired with Oxygen Builder, allows developers to craft visually stunning, dynamic websites.
By merging these powerful tools, you can ensure your design is not only beautiful but also functional and responsive. This process might seem complex, but with a clear step-by-step approach, you can transform static designs into interactive web experiences seamlessly. Let’s dive into how you can make this conversion a reality.
Table of Contents
ToggleWhy Use Oxygen Builder for Figma Design to WordPress Conversion?
Creating a stunning and responsive website from a Figma design can be challenging. However, using Oxygen Builder to convert your Figma design to a WordPress site makes the process easier and more efficient.

Here’s why Oxygen Builder is a popular choice for this task:
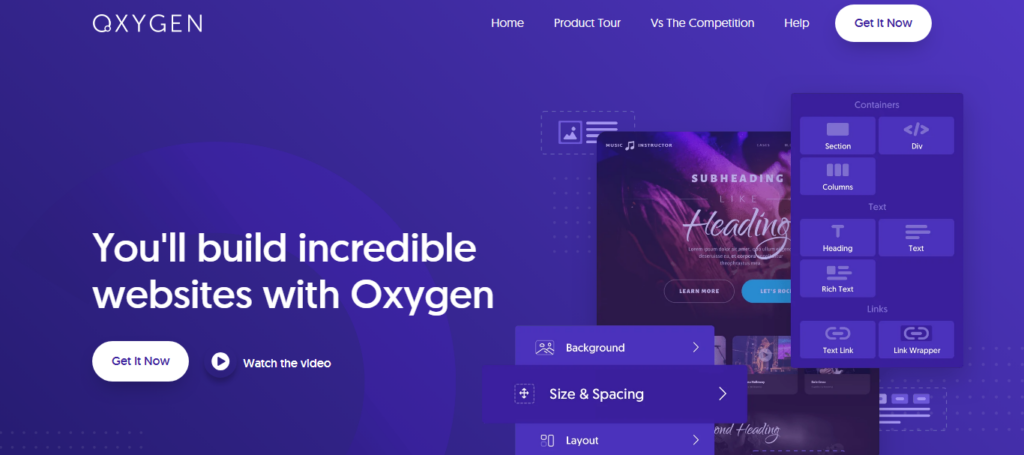
- Visual Control: Oxygen Builder provides a visual interface that gives you complete control over your design. You can easily replicate your Figma layouts with precision. There’s no need to compromise on accuracy, as you can adjust every detail, ensuring that your site looks exactly like your design.
- Code Efficiency: Oxygen generates clean and efficient code, which means faster loading times and better web performance. Unlike other page builders that might add unnecessary bulk, Oxygen ensures your site is optimized for speed, which enhances user experience.
- Flexibility and Customization: Oxygen Builder offers unmatched flexibility. Whether you’re a pro at coding or prefer a drag-and-drop editor, Oxygen caters to your style. You can customize CSS, add custom JavaScript, and even integrate third-party features seamlessly.
- SEO-Friendly: Oxygen has built-in features that help with search engine optimization. It produces lightweight code, which search engines love. This is crucial as it can improve your site’s ranking, bringing more visibility and traffic to your site.
- Cost-Effectiveness: Oxygen offers a one-time purchase model with no recurring fees, unlike some expensive page builders and plugins. This is great for freelancers and agencies, as you can use it on unlimited websites without worrying about monthly costs.
Read: How to Design Landing Pages in Figma and Launch Them on WordPress
Start Your Seamless Design-to-Website Transformation Today!
Experience unparalleled design precision and performance optimization with our expert services and ensure your site is both beautiful and fast.
Guide to Converting Figma to WordPress Using Oxygen Builder
Before diving into WordPress and Oxygen Builder, ensure that your Figma design is well-organized and final. This involves:
- Organizing Layers and Components: To make the development process smoother, make sure all layers, groups, and components are named clearly.
- Responsive Design: Design for responsiveness. Ensure that the layouts adapt to different screen sizes. Figma allows you to create responsive designs using constraints and auto-layout features.
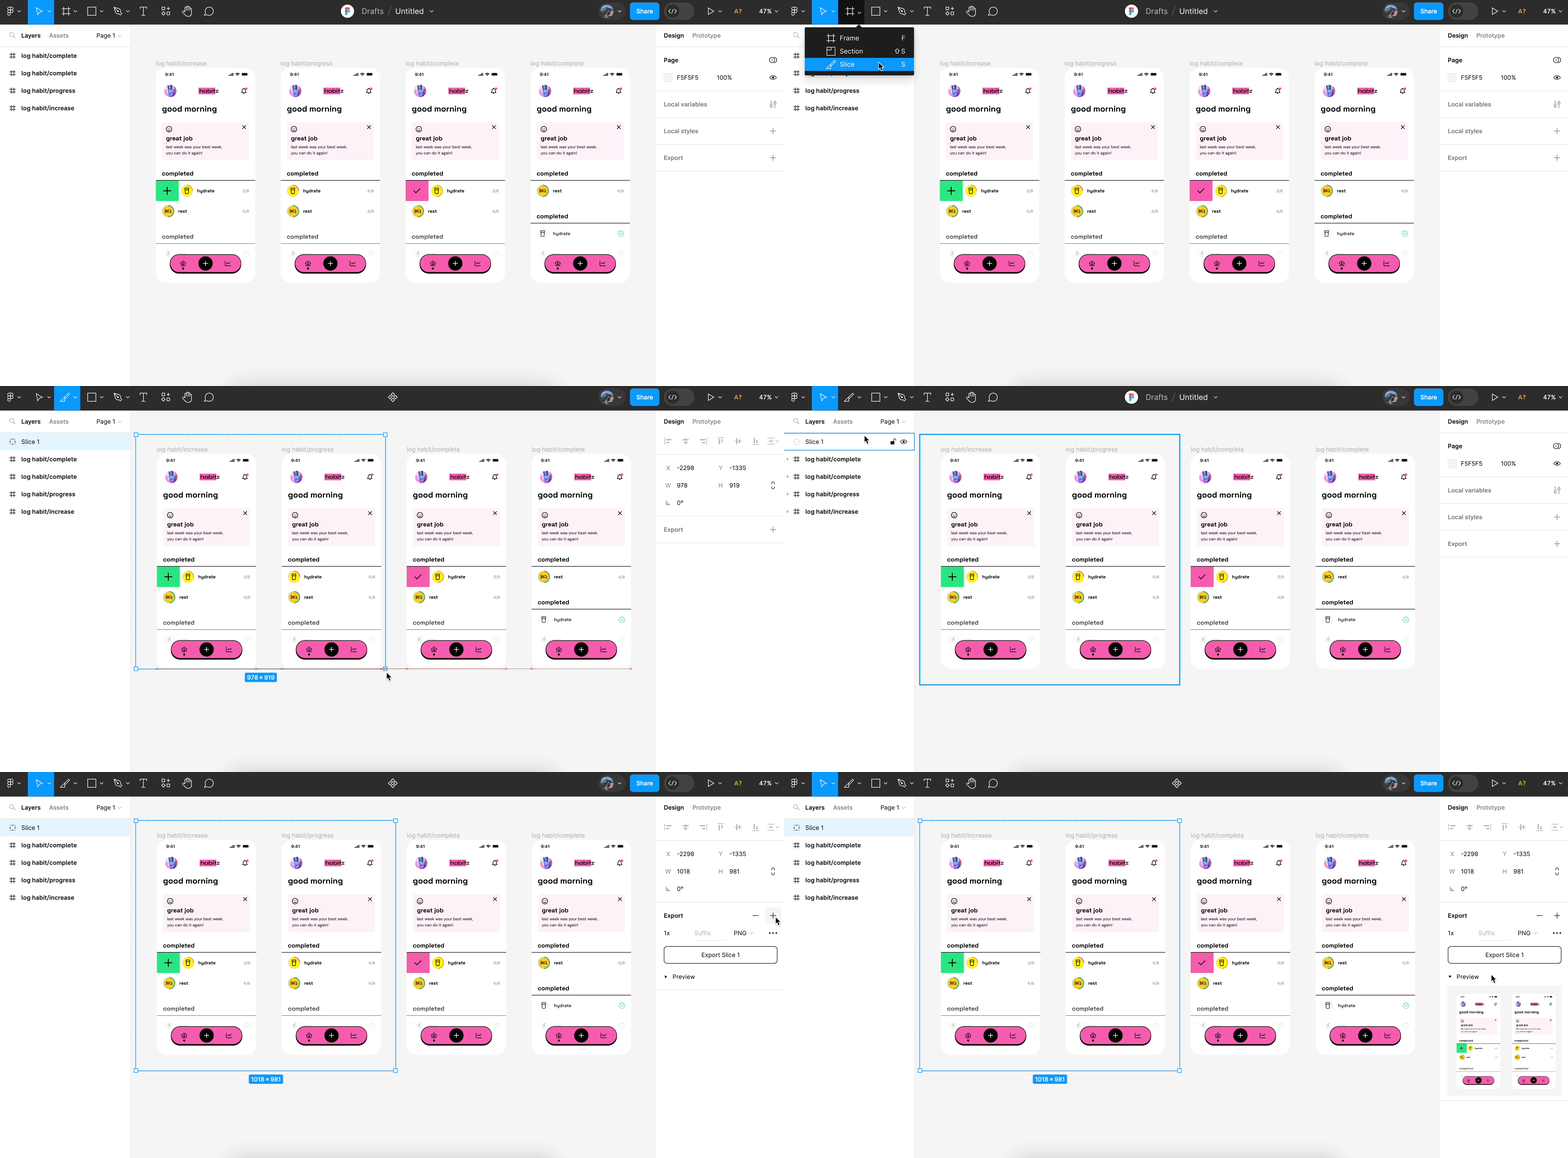
- Asset Export: Export all necessary brand assets such as images, icons, and illustrations. Figma supports multiple formats like PNG, SVG, and JPG. Ensure the assets are optimized for the web.

Step 1: Set Up Your WordPress Environment
Before using Oxygen Builder, you need a WordPress environment:
- Domain and Hosting: Purchase a domain and hosting plan. Choose a reliable web host that supports WordPress.
- Install WordPress: Most hosting providers offer a one-click WordPress installation. Follow the instructions to set up your WordPress site.
- Install Oxygen Builder: Purchase and install the Oxygen Builder plugin from its official website. Activate it within your WordPress dashboard.
Learn more: Best Practices to Consider When Migrating to Figma Design System
Step 2: Translate Your Figma Design into Oxygen Builder
Let’s break down the Figma to Oxygen Builder conversion into a step-by-step process.
Phase 1: Figma Preparation (Do this in Figma)
As already mentioned above, start with:
Organizing Figma Layers: Group all related elements. For example, group all elements of a navigation bar, all elements of a hero section together, etc. Give these groups clear, descriptive names (e.g., “Header,” “Hero Section,” “Footer”).
Component Inventory: Identify any reusable components in your design. These could be buttons, call-to-action blocks, testimonials, etc. Make sure these are well-defined components in Figma.
Style Inventory: Document all the styles used in your Figma design. This includes:
- Typography: Font families, sizes, weights, line heights, colors.
- Colors: Primary colors, secondary colors, background colors, text colors, etc.
- Spacing: Margins, padding, gaps between elements.
- Effects: Shadows, border-radius, etc.
Export Assets: Export all images, icons, and other assets as optimized files (e.g., PNG, SVG, JPEG). Save these to a well-organized folder.
Phase 2: Setting up Oxygen
This is the planning phase, so start with:

New Template or Page: Decide whether you’re building a reusable template or a single page. Create the appropriate element in Oxygen.
Upload Assets: Upload the assets you exported from Figma to your WordPress Media Library.
Phase 3: Building with Oxygen
Now, it’s time to start building.
Structure Layout: Start by recreating the basic layout structure from Figma.
- Use sections for major blocks of content.
- Make use of columns to create multi-column layouts.
- Use divs for smaller groupings of elements.
- Pay close attention to the hierarchy of elements in your Figma design.
Style Layout: Once you have the basic structure, start applying styles:
- Use Oxygen’s Style Guides if you have a well-defined style system.
- Apply typography styles, colors, background images, etc., using Oxygen’s visual controls.
- Use classes to apply styles consistently to multiple elements.
Reusable Elements: Rebuild your Figma components as reusable elements in Oxygen. Consider using Oxygen’s composite elements or templates if appropriate.
Content Population: Add the text and image content to your Oxygen elements. Make sure to optimize images for web performance.
Advanced Styling (Optional): If you need more control, use Oxygen’s custom CSS feature to add more specific styles.
Scale Without Stress: Unlimited Figma to WordPress Conversions for Busy Digital Agencies
Step 3: Responsiveness and Testing
With the basic design in place, make sure the website is mobile-responsive:
- Responsive Editing Tools: Oxygen offers tools to tweak designs for different devices. Use these to adjust layouts and fonts to suit various screen sizes.
- Cross-Browser Testing: Ensure your site looks good across all major browsers. Use tools like BrowserStack for comprehensive testing.
- Functionality Testing: Check all links, forms, and interactive elements to ensure they work as intended.
Step 4: Launch Your Website
Before going live, do the following:
- SEO Optimization: Ensure your website is optimized for search engines. Use plugins like AIOSEO to configure meta tags, sitemaps, and more.
- Performance Optimization: Speed matters. Use caching plugins, optimize images, and consider using a content delivery network (CDN) to enhance performance.
- Backup: Always back up your website before launching it to safeguard against data loss. For website backup, use BlogVault or WP Umbrella services.
Once everything is set, point your domain to your WordPress server and launch your website for the world to see.
Check out: The Role of Designers and Developers in Figma to WordPress Conversion
How Can We Make the Figma to Oxygen Builder Conversion Seamless?
At figtowp, we help businesses transform static Figma designs into dynamic, high-performance websites using Oxygen Builder. Our goal is to ensure a seamless handoff, preserving design fidelity, functionality, and WordPress best practices throughout the process. Here’s how we make the conversion process effortless and professional:
Pixel-Perfect Design Accuracy
First and foremost, we ensure that your original Figma design is converted with precision. From layouts to typography, spacing to images, we ensure that no detail is lost in translation, maintaining brand consistency across every page.
Elimination of Font and Style Mismatches
To avoid common design pitfalls, we pay close attention to font family settings, including custom fonts like Bree Serif. This ensures your Oxygen site looks just like the Figma prototype without awkward mismatches or visual glitches.
Smart Use of Advanced Custom Fields (ACF)
For websites that require dynamic content, we integrate ACF to make your site easy to manage. Whether it’s a blog, portfolio, or service page, your content remains editable, scalable, and structured without touching code.
WooCommerce & Online Store Integration
If your project involves ecommerce, we build powerful online stores using WooCommerce within Oxygen Builder. From secure payment gateways to product filtering and cart optimization, we ensure your store is fast, secure, and user-friendly.
Works Silently, Delivered Professionally
Our team works efficiently behind the scenes. You send us the Figma file, and we handle the entire Oxygen build, from development to optimization, without interrupting your workflow. The result? A fully responsive, SEO-ready site delivered professionally and on time.
Send Us Your Figma Design and Get Started Today!
We turn your Figma file into a fully responsive, high-performing Oxygen Builder website without losing a pixel.
Common Mistakes to Avoid During Figma to Oxygen Builder Conversion
Converting a Figma design into an Oxygen Builder website can be seamless, but only if done with precision. Without careful attention to detail, your final site may stray from the original design, affect performance, or become difficult to manage. To help you get it right the first time, here are the key mistakes you should avoid:
- Ignoring Design-to-Code Consistency: One of the most common errors is not maintaining pixel-perfect accuracy. Spacing, alignment, and typography often get overlooked, leading to a final build that feels “off” compared to the Figma prototype.
- Overlooking Responsive Breakpoints: Next, failing to set up responsive layouts properly can result in poor user experiences on mobile and tablet. So, always ensure your Oxygen templates adapt smoothly across all screen sizes.
- Not Matching Font Styles and Typography: Another frequent issue is using incorrect or mismatched font families and weights, especially when the Figma design includes custom fonts like Bree Serif. This can damage the visual identity of your brand.
- Hardcoding Instead of Using ACF: Some developers hardcode text and images instead of using Advanced Custom Fields (ACF) for dynamic content, making the site difficult for clients to update later. ACF ensures long-term flexibility and easy management.
- Ignoring Performance Optimization: Lastly, skipping performance best practices, such as image compression, proper class naming, and code cleanliness, can slow down your website and hurt SEO. Oxygen offers control, but only if used wisely.
Conclusion
Converting your Figma design into a WordPress website using Oxygen Builder can seem like a daunting task at first. However, with careful planning, attention to detail, and the powerful features offered by Oxygen, the process becomes much more manageable.
By following the steps outlined in this guide, you’ll be able to create a visually appealing and highly functional website. The combination of Figma’s design capabilities and WordPress’s robust platform offers endless possibilities for creativity and functionality.
Dive into this conversion process with confidence, knowing that you are equipped with the right tools and techniques to succeed.
FAQs About Figma to WordPress Using Oxygen Builder
Do I need coding skills to use Oxygen Builder?
While Oxygen Builder is a visual builder, having basic HTML and CSS knowledge helps. It allows for greater customization and fine-tuning of your design.
Can I use Oxygen Builder with other WordPress themes?
Oxygen Builder functions as its own environment, so it doesn’t rely on WordPress themes. It overrides the default theme, giving you full design control.
Can Figma be imported to a WordPress website directly?
No, Figma cannot be imported directly into a WordPress website. Figma is a design tool, and its files need to be manually converted into code using a page builder like Oxygen or through custom development.
Is Oxygen Builder SEO-friendly?
Yes, Oxygen Builder is designed with performance and SEO in mind. It produces clean code, which is beneficial for search engine optimization.
How does Oxygen Builder compare with other page builders?
Oxygen Builder offers more control over the design and layout than many other page builders. It’s highly efficient for developers who prefer to work closely with code.
How to turn Figma into an actual website?
To turn a Figma design into a real website, developers recreate the layout using HTML, CSS, or a WordPress builder like Oxygen. This includes matching the design elements, making the site responsive, and integrating it with WordPress functionality.
What if I want to add custom functionality to my site?
You can extend functionality by using WordPress plugins or by adding custom PHP and JavaScript code if you have programming skills.


