

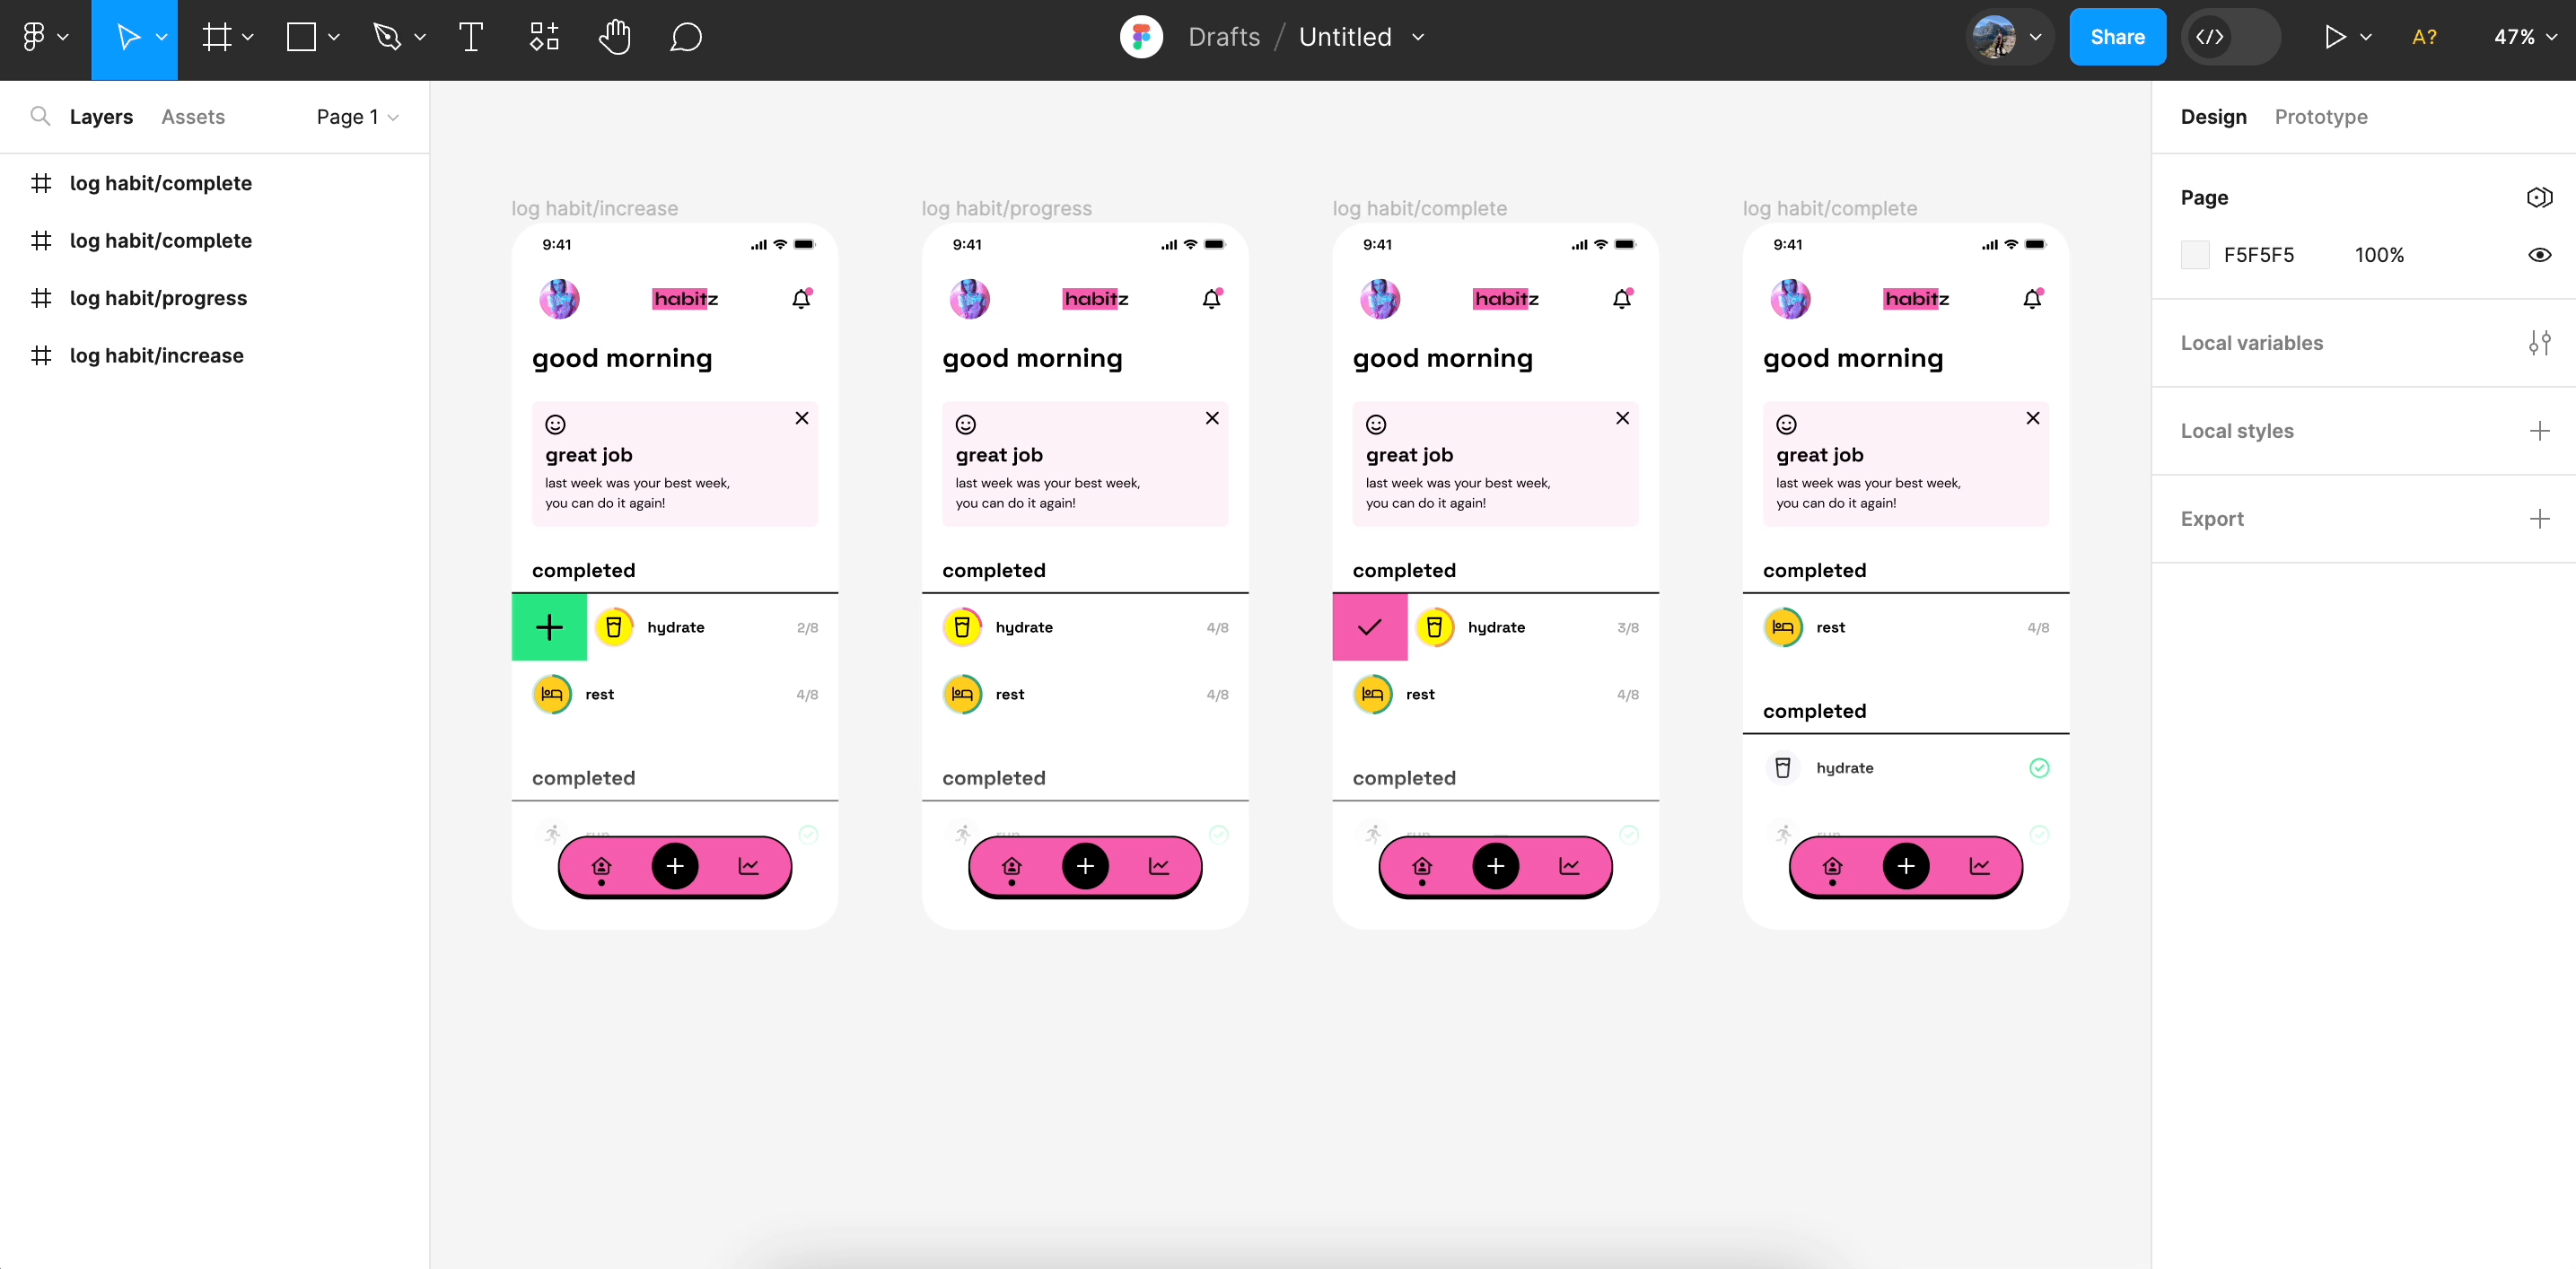
Want to turn your Figma designs into a real WordPress site? Transfer of designs from Figma to Astra templates might be just what you need. Astra is a popular WordPress theme that’s known for being fast and easy to customize. It works great with page builders and comes with lots of pre-made website designs.
You can design in Figma, then use Astra to create a WordPress site that looks just like your design. It’s a great way to go from concept to live website without losing your vision along the way. With Astra, you get speed, flexibility, and design freedom all in one package. It’s a smart choice for both beginners and pros who want to build better WordPress sites.
Steps to Integrate Stunning Figma Designs Into the Astra Template
Ready to transform your beautiful Figma designs into a live website using the Astra template? Follow these steps to seamlessly integrate your designs, ensuring your site looks as stunning and functional as your original vision:
Step 1: Begin by Exporting Your Figma Design Files for Optimal Web Use
First things first, you need to export your Figma design files. This step ensures your design elements are web-ready. It’s simple but essential to get this right to avoid headaches later.
Workflow
- Choose Your Design Elements: Open your Figma file and select the elements you want to export. These include images, icons, and any other visuals.
- Configure Export Settings: Click on the element, then go to the right-hand panel and find the export section. Set the format (like PNG, SVG, or JPEG) and resolution. For web use, 72 DPI is usually enough.
- Save Exported Files: Click the export button. Figma will save these files to your computer. Make sure you organize them in folders for easy access later.
Pro Tip: Use SVG for Scalable Graphics
If your design has icons or logos, export them as SVG files. SVGs are scalable and will look crisp on any screen size. Plus, they help with loading speeds, which is great for your site’s performance.
Also Read: Photoshop to Figma: Methods to Integrate Into Your Web Design Workflow
Want to Take Your Mind Off the Nitty-Gritty of Figma Design Conversions?
We make it easy for you! Our WordPress engineers are experts at translating your Figma designs into WordPress site designs, ensuring every bit of brilliance is preserved.
- Contact Us
Step 2: Prepare Your WordPress Environment by Installing and Activating the Astra Theme
Before you can start integrating your Figma designs, you need to set up your WordPress environment. This involves installing and activating the Astra theme, which is known for its flexibility and compatibility with various design tools.

Workflow
- Access Your WordPress Dashboard: Log in to your WordPress site by going to yourdomain.com/wp-admin. Enter your username and password to access the dashboard.
- Navigate to Themes Section: In the left-hand menu, hover over Appearance and click on Themes. This is where you manage your site’s themes.
- Add New Theme: Click the Add New button at the top of the themes page. This will take you to the WordPress theme repository.
- Search for Astra: In the search bar on the right, type Astra. The Astra theme should appear in the search results.
- Install Astra Theme: Click the Install button on the Astra theme. Wait a few moments for the installation to complete.
- Activate Astra Theme: Once the theme is installed, click the Activate button. This will set Astra as your site’s active theme.
- Verify Installation: Go back to the themes section under Appearance to ensure Astra is listed as the active theme. Your site is now running on Astra.
- Check for Astra Add-ons: Astra has various add-ons that enhance its functionality. Navigate to Astra Options under Appearance to explore and activate any additional features you might need.
Pro Tip: Use Astra Starter Templates
Astra offers a range of starter templates that can speed up the design process. Go to Appearance > Astra Starter Templates and browse through the options. You can import a template that closely matches your Figma design to save time and effort.
Also Check: Figma vs Canva: Which Tool is Best for Creating Graphics?
Step 3: Import Your Figma Design Files into WordPress Using a Suitable Plugin
Now that your WordPress environment is set up with the Astra theme, it’s time to import your Figma design files. Using a suitable plugin will make this process smooth and efficient.
Workflow
- Choose a Plugin: Select a plugin that supports importing design files from Figma. Two popular options are WP Figma and Elementor. For this guide, we’ll use Elementor.
- Install and Activate Elementor: Go to your WordPress dashboard, navigate to Plugins > Add New, and search for Elementor. Click Install Now and then Activate.
- Create a New Page: In your WordPress dashboard, go to Pages > Add New. Give your page a title and click Edit with Elementor.
- Import Figma Files: Within the Elementor editor, click the folder icon to open the template library. Select the Import Template option and upload your Figma export files. You can import images, icons, and other design elements.
- Arrange Design Elements: Drag and drop your imported Figma design elements onto the page. Use Elementor’s tools to adjust the layout, ensuring it matches your original Figma design.
- Save and Preview: Once your design elements are in place, click Save and then Preview to see how your page looks. Make any necessary adjustments to ensure everything appears as intended.
Pro Tip: Use Elementor’s Advanced Features
Take advantage of Elementor’s advanced features like motion effects, custom fonts, and responsive design settings to enhance your Figma design and make it more dynamic.
More Insights: Figma vs Illustrator: Which is Best for Vector Design?
Step 4: Customize Astra’s Settings to Match Your Figma Design’s Overall Aesthetic
With your design elements imported, the next step is to customize Astra’s settings. This ensures your site’s appearance aligns perfectly with your Figma design’s overall aesthetic.

Workflow
- Access Astra Customizer: In your WordPress dashboard, go to “Appearance” > “Customize”. This opens the Astra theme customizer, where you can adjust various settings.
- Set Site Identity: Click on “Site Identity” to upload your logo, set your site title, and add a tagline. Make sure these match your Figma design.
- Adjust Colors and Backgrounds: Navigate to “Colors & Background”. Set the primary and secondary colors to match your Figma design’s color palette. Adjust the background settings if needed.
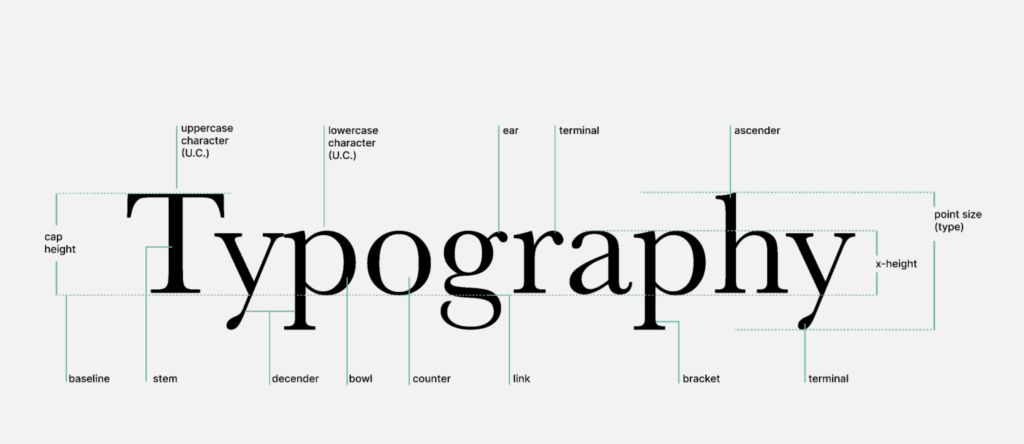
- Customize Typography: Go to “Typography” to set your fonts. Match the font family, size, weight, and line height to your Figma design. Ensure consistency across headings, body text, and other elements.
- Layout Settings: Click on “Layout” to adjust the width, spacing, and structure of your site. Align these settings with your Figma design’s layout specifications.
- Header and Footer: Customize the header and footer sections by going to “Header” and “Footer” options. Add menus, widgets, and other elements as per your Figma design.
- Additional CSS: If your Figma design includes specific styles that aren’t available in the customizer, use the “Additional CSS” section to add custom CSS. This ensures every detail matches your design.
- Preview and Publish: Once you’ve made all the customizations, click “Publish” to apply the changes. Use the “Preview” option to see how your site looks and make any final adjustments.
Pro Tip: Use Global Settings
Astra allows you to set global settings for colors, typography, and layouts. Use these settings to ensure consistency across your entire site, making it easier to maintain your design’s integrity.
Read More: Figma vs Sketch: Which Design Tool is Right for You?
Step 5: Implement Your Figma Design’s Layout Using Astra’s Built-In Customizer
Now that you have your design elements and Astra theme ready, it’s time to implement your Figma design’s layout using Astra’s built-in customizer. This step brings your site structure to life.
Workflow
- Access Astra Customizer: Go to your WordPress dashboard and navigate to “Appearance” > “Customize”. This opens the Astra customizer.
- Configure Layout Settings: In the customizer, go to “Layout”. Here, you can set the global layout settings for your site. Match these with the layout specifications from your Figma design.
- Set Container Widths: Adjust the container widths to ensure your content aligns perfectly. Use the “Container” settings to set the width, padding, and margin.
- Design Header and Footer: Customize the header and footer sections by going to “Header” and “Footer” settings. Add and arrange elements like logos, menus, and widgets to match your Figma design.
- Arrange Page Sections: Go to “Pages” and set the layout for individual pages. Ensure each section of your page (like hero images, content blocks, and footers) matches the structure of your Figma design.
- Preview Changes: Use the “Preview” option frequently to see how your layout looks. Make adjustments as needed to ensure everything is in the right place.
- Publish Layout: Once you’re satisfied with the layout, click “Publish” to save your changes. Your Figma design’s layout is now implemented on your Astra site.
Pro Tip: Utilize Astra’s Spacing Controls
Take advantage of Astra’s spacing controls to fine-tune the spacing between elements. Proper spacing ensures your design looks clean and organized.
Keep Reading: Mastering Figma to Shopify: The Ultimate Store Creation Handbook
Step 6: Add Your Figma Design’s Visual Assets and Media to the Astra Template
With your layout in place, the next step is to add your Figma design’s visual assets and media. This includes images, icons, and any other graphical elements.

Workflow
- Prepare Assets: Make sure all your visual assets are exported from Figma and organized on your computer. This includes images, icons, and any other media files.
- Upload Media Files: Go to your WordPress dashboard and navigate to “Media” > “Add New”. Drag and drop your visual assets to upload them to the media library.
- Add Images to Pages: Edit each page where you need to add images. Use the “Add Media” button in the WordPress editor to insert images into your content.
- Incorporate Icons: If your design includes icons, use a plugin like “Elementor” or “Font Awesome” to add them to your pages. Match the placement and size from your Figma design.
- Adjust Image Settings: Ensure each image is properly sized and aligned according to your design. Use the image settings in the editor to set the alt text, captions, and other details.
- Embed Videos and Other Media: If your design includes videos or other media, embed them using the appropriate blocks or widgets. Ensure they are correctly positioned as per your Figma design.
- Optimize for Performance: Compress your images and media files to ensure fast loading times. Use a plugin like “Smush” to optimize media files without losing quality.
Pro Tip: Use Image CDN
Consider using a Content Delivery Network (CDN) for your images. This helps to speed up your site by serving images from the nearest server to the user.
Keep Checking: Top Figma to WordPress Agencies [Ultimate List]
Step 7: Fine-Tune Typography and Color Schemes to Perfectly Reflect Your Figma Design
The final touch is to fine-tune the typography and color schemes to ensure every detail matches your Figma design. This step enhances the visual coherence and readability of your site.
Workflow
- Access Typography Settings: In your WordPress dashboard, go to “Appearance” > “Customize” and click on “Typography”. Here, you can set the font styles for your site.
- Set Global Fonts: Choose the primary and secondary fonts that match your Figma design. Set the font family, size, weight, and line height for body text and headings.
- Adjust Specific Text Elements: Customize the typography for specific elements like buttons, menus, and widgets. Ensure these match the styles used in your Figma design.
- Color Scheme Settings: Navigate to “Colors & Background” in the customizer. Set the primary, secondary, and accent colors to align with your Figma color palette.
- Custom Color Adjustments: Fine-tune the colors of specific elements such as links, buttons, and backgrounds. Use custom CSS if needed to achieve exact matches.
- Preview Changes: Use the customizer’s preview feature to see how the typography and color changes look in real-time. Make any necessary adjustments to ensure consistency.
- Check Mobile and Tablet Views: Ensure your typography and color schemes look good on all devices. Use the customizer’s responsive view options to check and adjust for mobile and tablet screens.
- Publish Changes: Once you’re satisfied with the typography and color settings, click “Publish” to apply these changes to your site.
Pro Tip: Use Consistent Spacing and Line Heights
Consistency in spacing and line heights across your text elements helps improve readability and gives your site a polished look. Ensure these settings match your Figma design.
More Reading: How to Convert Figma to Canva: Simplifying Edits
Step 8: Test and Optimize the Integrated Design for Responsiveness and Performance
Once your design is in place, it’s crucial to ensure that it looks great and performs well on all devices. Testing and optimizing for responsiveness and performance will enhance the user experience and keep visitors engaged.
Workflow
- Preview on Different Devices: In your WordPress dashboard, go to “Appearance” > “Customize” and use the responsive view options to preview your site on desktop, tablet, and mobile devices.
- Adjust Responsive Settings: Use Astra’s customizer and Elementor’s responsive settings to tweak layout, font sizes, and spacing for different screen sizes. Ensure everything is visually consistent and functional across devices.
- Test Site Speed: Use tools like Google PageSpeed Insights or GTmetrix to check your site’s loading speed. Identify any issues and follow recommendations to improve performance.
- Optimize Images: Ensure all images are optimized for the web. Use plugins like “Smush” or “Imagify” to compress images and reduce their load time without sacrificing quality.
- Minify CSS and JavaScript: Use plugins like “Autoptimize” or “WP Rocket” to minify CSS and JavaScript files. This reduces file sizes and improves site speed.
- Enable Caching: Implement caching solutions to speed up your site. Plugins like “W3 Total Cache” or “WP Super Cache” can help store static versions of your pages and reduce server load.
- Check for Broken Links: Use tools like “Broken Link Checker” to find and fix any broken links on your site. This improves user experience and site credibility.
- Review Performance Metrics: Regularly monitor your site’s performance metrics. Ensure that any changes made do not negatively impact loading times or responsiveness.
Pro Tip: Use a Content Delivery Network (CDN)
Implementing a CDN can significantly enhance your site’s loading speed by distributing content across multiple servers worldwide. This ensures faster access for users regardless of their location.
Read More: Simplifying Figma to Elementor Conversion: A Practical Guide
Step 9: Ensure Accessibility Compliance by Reviewing and Adjusting Design Elements
Ensuring that your site is accessible to all users, including those with disabilities, is not only important for inclusivity but also for SEO. Reviewing and adjusting your design elements for accessibility compliance is a key step in this process.
Workflow
- Use Semantic HTML: Ensure that your site uses semantic HTML elements like <header>, <nav>, <main>, and <footer>. This helps screen readers and search engines understand the structure of your content.
- Add Alt Text to Images: Provide descriptive alt text for all images. This helps visually impaired users understand the content of the images through screen readers.
- Ensure Keyboard Navigation: Check that all interactive elements, such as menus and buttons, can be navigated using a keyboard. This is crucial for users who cannot use a mouse.
- Contrast Ratio: Verify that your text has sufficient contrast against its background. Use tools like the WebAIM Contrast Checker to ensure compliance with WCAG guidelines.
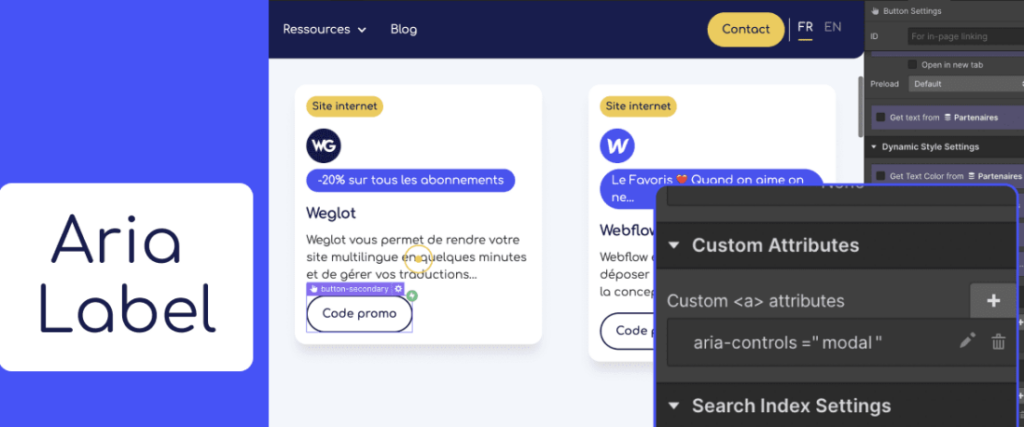
- Add ARIA Labels: Use ARIA (Accessible Rich Internet Applications) labels to enhance the accessibility of dynamic content. This helps screen readers provide more context to users.
- Test with Screen Readers: Use screen readers like NVDA or VoiceOver to navigate your site. Identify any issues and make necessary adjustments to improve the experience for visually impaired users.
Pro Tip: Use Accessibility Plugins
Consider using plugins like “WP Accessibility” or “One Click Accessibility” to help identify and fix common accessibility issues on your site.
Read More: Mastering the Conversion from Figma to Divi: An Expert Guide
Step 10: Finalize the Integration by Publishing and Conducting a Thorough Site Audit
The final step is to publish your site and conduct a thorough audit to ensure everything is working perfectly. This step helps catch any last-minute issues and ensures a smooth launch.
Workflow
- Preview Your Site: Before publishing, use the “Preview” option in WordPress to see how your site looks live. Check for any visual discrepancies or functional issues.
- Publish Your Site: Once you’re satisfied with the preview, click the “Publish” button to make your site live. Celebrate this milestone!
- Conduct a Content Audit: Review all pages and posts to ensure content accuracy. Check for typos, broken links, and ensure all images and media are displaying correctly.
- Test All Functionality: Go through your site’s functionality, including forms, navigation, and any interactive elements. Ensure everything is working as expected.
- Run Performance Tests: Conduct final performance tests using tools like Google PageSpeed Insights or GTmetrix. Make any necessary adjustments to optimize speed and performance.
- Check Analytics Setup: Ensure your analytics tools (like Google Analytics) are properly set up and tracking site data. This will help you monitor site performance and user behavior.
- Backup Your Site: Create a full backup of your site using a plugin like “UpdraftPlus”. This ensures you have a restore point in case anything goes wrong post-launch.
- Monitor After Launch: Keep an eye on your site for the first few days after launch. Address any issues that arise promptly to ensure a smooth user experience.
Pro Tip: Enable Maintenance Mode During Audit
Use a maintenance mode plugin to temporarily disable public access while you conduct your final audit. This prevents users from encountering issues during the review process.
More Insights: Guide to Converting Figma Designs to HTML Code and Building a WordPress Website
Conclusion
Astra’s flexibility allows for pixel-perfect recreation of your Figma designs. Whether it’s unique layouts, custom spacing, or specific color schemes, Astra provides the tools to match your design precisely. This level of control means you don’t have to compromise on your creative vision when moving from design to implementation.
The combination of Figma and Astra can significantly speed up your website development process. You can start with a detailed Figma design and then use Astra’s pre-built templates as a foundation, customizing them to match your specific design. This approach saves time and effort, allowing you to launch your site faster without sacrificing quality or design integrity.
Updating your website becomes much easier when using Figma with Astra. You can make changes to your design in Figma and then quickly update your Astra-based site to reflect these changes. This streamlined process for making updates keeps your site fresh and current without requiring a complete overhaul each time you want to make design tweaks.
FAQs About Figma to Astra Template for WordPress
Is Astra best for Figma to WordPress conversion?
Astra is a popular choice for Figma to WordPress conversion due to its versatility, performance optimization, and compatibility with major page builders. While it is a good option, the “best” choice depends on specific project needs, such as design complexity and feature requirements. Depending on the design creators need, other premium and free themes like GeneratePress or OceanWP may also be suitable Astra alternatives.
Is it possible to convert Figma to WordPress using an Astra theme?
Yes, it is possible to convert Figma to a WordPress site using the Astra theme. You’ll need to manually recreate the design in WordPress or use website builder plugins like Elementor or Beaver Builder, which are compatible with Astra. These tools can help you replicate your Figma design efficiently.
What is the best editor for Astra?
Astra works well with several page builders, but Elementor and Beaver Builder are probably the best editors for Astra due to their flexibility, features, and extensive library of templates. They enable you to build custom layouts that can closely mimic your Figma designs.
How do I turn my Figma design into a prototype?
To create a prototype in Figma, follow these steps:
- Open your design file in Figma.
- Select the “Prototype” tab on the right panel.
- Use the “Prototype” tools to create interactive links between frames by dragging connections from UI elements to the frames you want to navigate to.
- Set up interactions like “On Click,” “While Hovering,” etc.
You can preview and interact with your prototype by clicking the “Present” button in the top-right corner.
What are the key features of the Astra SaaS Web UI Kit, and how can it benefit a SaaS startup?
The Astra SaaS Web UI Kit offers a comprehensive Figma and Framer template designed specifically for SaaS startups. Key features include over 8 customizable pages, an advanced CMS for content management, and predefined custom interactions. This UI kit can streamline the design process by providing a professional and consistent starting point, allowing startups to focus on refining their branding and functionality. Its integration with Figma and Framer also facilitates easy prototyping and collaboration for designers and developers.
How to embed Figma into WordPress?
To embed a Figma design into a WordPress page or post, you can use the following method:
- In Figma, select the frame you want to embed.
- Click on “Share” and then “Copy Embed Code.”
- In WordPress, open the page or post editor.
- Switch to the “HTML” or “Custom HTML” block if using Gutenberg, or use a “Text” widget if using a different editor.
- Paste the Figma embed code where you want the design to appear.


