

Figma is more than just a design app, it’s a collaborative powerhouse. The design app ranks among the favorites of digital marketers and e-commerce designers. Now, imagine taking those sleek Figma designs and bringing them to life on Shopify, a platform that has helped generate over $200 billion in global revenue. The Figma to Shopify combination is practically transforming the landscape for online stores.
In this article, we’ll guide you on how to seamlessly convert Figma to Shopify. You’ll learn tips and tricks to streamline your workflow, from exporting assets to customizing your Shopify theme. By the end, you’ll see how this approach can save time and ignite creativity for both designers and store owners.
1. Getting Started with Figma
Figma is free, cloud-based and changing how teams create digital products.

Some stellar benefits that you can definitely get out of Figma are:
- Real-time collaboration: Multiple designers can work on the same file simultaneously. You’ll see changes instantly, no file-sharing needed.
- Cloud storage: Your designs are always accessible. Work from home, the office, or a coffee shop – your files are there.
- Prototyping: Turn static designs into interactive mockups. Test user flows without writing a single line of code.
- Plugins: Extend Figma’s functionality with community-created tools. From accessibility checkers to icon libraries, there’s a plugin for almost everything.
Setting Up Your Figma Account
Before Figma to Shopify transfers, it’s time for you to set up your Figma account. That is, if you haven’t already. Follow these simple steps:
- Visit Figma.com and click Sign up. Choose between a personal or professional account.
- Enter your email and create a strong password
- Check your inbox and verify your email
- Complete your profile with a photo and job title. Take the optional tour to familiarize yourself with the interface.
Read More: Figma to WordPress Conversion Process
Understanding Figma’s Interface and Tools
Figma’s workspace might seem complex at first. But trust us, it’s as logically organized as it gets. Here are some features to look out for:
- Canvas: Your main design area. It’s infinite, so don’t worry about running out of space.
- Toolbar: Located at the top, it contains your most-used tools like shapes, text, and hand tool.

- Layers panel: On the left, it shows all elements in your design, organized hierarchically.
- Properties panel: On the right, it displays and allows you to edit properties of selected elements.
- Assets panel: Store reusable components, styles, and team libraries here for easy access.
Spend time exploring each tool. Hover over icons to see tooltips explaining their functions.
Basic Design Principles in Figma
Good design for Figma to Shopify, isn’t just focusing on aesthetics – it’s about effective communication. Keep these principles in mind:
- Contrast: Use differences in color, size, or shape to draw attention to important elements.
- Alignment: Properly aligned elements create a sense of unity and cohesiveness in your design.
- Proximity: Group related items together to create visual connections and improve scanability.
- Repetition: Consistent use of colors, fonts, and styles helps create a cohesive brand identity.
- Whitespace: Don’t fear empty space. It helps guide the eye and prevent visual clutter.
Practice applying these principles in your works. A good way to start is with simple layouts and then, gradually increase complexity.
Beginner’s Guide: How to Convert Figma Designs to WordPress Using Elementor
2. Designing Your Online Store in Figma
An intuitive and engaging user experience is the primary yardstick that you should consider when converting shop faces from Figma to Shopify. In this chapter, we will deal with designing basics in Figma.
Creating Wireframes and Mockups
Wireframes are the blueprint of your store. Here’s how to create them effectively for a smooth Figma to Shopify transfer:

- Start with pen and paper. Sketch rough ideas quickly without getting bogged down in details.
- In Figma, use the Rectangle tool to create basic layout elements like header, navigation, and content areas.
- Add placeholder text using the Text tool. Use “Lorem ipsum” or write descriptive labels.
- Use the Ellipse tool for images or icons. A crossed circle is a common placeholder for images.
- Focus on structure and hierarchy. Don’t worry about colors or specific content yet.
Once your wireframe is solid, evolve it into a detailed mockup:
- Define your color palette using the Color Styles feature in Figma.
- Choose and set up your typography. Create Text Styles for headings, body text, and buttons.
- Replace placeholder shapes with actual content. Import product images and write real copy.
- Add subtle details like shadows, gradients, or background textures to enhance the design.
Designing User Interfaces (UI) and User Experiences (UX)
Creating a user-friendly online store is crucial for success. Here’s how to approach UI/UX design:
- Start with user flow diagrams. Map out the journey from landing page to checkout.
- Design for mobile first. It’s easier to scale up designs than to cram desktop layouts into mobile screens.
- Create a consistent navigation system. Users should always know where they are and how to get where they want to go.
- Use color and contrast to guide attention. Highlight call-to-action buttons and important information.
- Design for different states: hover, active, disabled. Create variants in Figma to show these interactions.
- Consider accessibility. Use plugins to check color contrast and test for colorblindness.
Remember, the goal is to make shopping effortless. Every extra click or confusion point can lead to lost sales. So, get this step right or better yet, use a page builder.
Using Figma Plugins and Widgets to Add Images
Unlike custom coding that requires developer skills and knowledge of CSS, JavaScript, PHP, and HTML, plugins can significantly speed up your workflow for adding images, icons, vectors, and more.
A couple of must-try options are:
- Unsplash: Import high-quality stock photos directly into your designs.
- Iconify: Access thousands of icons from different sets without leaving Figma.
Explore Figma’s Community tab to find more plugins. New ones are added regularly, so check back often.
Collaborative Design: Working with Teams and Clients
Figma’s collaboration features set it apart. Leverage them this way:
- Invite team members or clients to your project. Set appropriate permissions (can edit, can view, etc.).
- Use comments to give and receive feedback. You can even tag specific team members.
- Create separate pages within your file for different versions or concepts.
- Utilize Figma’s presentation mode for client meetings. You can present directly from the browser.
- Set up team libraries to share components and styles across projects.
Good collaboration practices:
- Name your layers and frames clearly
- Use Figma’s version history feature to track changes
- Schedule regular design reviews to keep everyone aligned
Remember, clear communication is key to successful collaborative design. Use Figma’s tools to keep everyone on the same page, literally and figuratively.
3. Preparing to Convert Figma Designs for Shopify
While Figma offers a flexible and powerful platform for creating detailed designs, converting these designs from Figma to Shopify presents its own set of challenges. Ensuring pixel-perfect accuracy, maintaining design consistency, and optimizing for performance are just a few of the hurdles you might encounter. Let’s see how to fare well through these hurdles.
Exporting Assets from Figma
Getting your designs ready for Shopify starts with proper exporting.
- Select the elements you want to export in Figma. In the right sidebar, click the “Export” tab
- Choose your file format (usually PNG for images, SVG for icons)
- Set the scale (1x for standard, 2x for retina displays). Click the export button
Designer’s Tip: Use Figma’s Export Settings feature to set up export presets for different elements.
Figma Designs Pop Wherever You Transfer Them!
Get ready to use Figma designs for your website from our pro team, here to assist and deliver on your design request every step of the way.
Understanding File Formats and Resolutions
Choosing the right image file format can make all the difference in your store’s performance and design vision. Hence, make sure that you get this right and ensure proper compression of images, so the Shopify website loads quickly and in an instant.

- PNG: Best for photographs and complex graphics. Use for product images.
- SVG: Ideal for logos and icons. They scale without losing quality.
- JPEG: Good for large background images where some quality loss is acceptable.
Which to Choose: AVIF vs WebP
For resolutions:
- Use 72 DPI for web images
- Aim for file sizes under 200KB for fast loading
- Consider creating multiple sizes for responsive design
Also read: How to Convert Px to Inches for Figma to WordPress Projects
Organizing and Naming Your Design Files
Good organization saves time and headaches:
- Create a clear folder structure in Figma (e.g., “Header”, “Product Pages”, “Checkout”)
- Use descriptive names for your files (e.g., “hero-banner-desktop.png”)
- Include dimensions in file names for easy reference (e.g., “product-image-500×500.jpg”)
- Keep a master list of all assets and their locations
Preparing Design Elements for Web Use
Before moving to Shopify, optimize your designs:
- Compress images using tools like TinyPNG
- Convert fonts to web-safe formats (WOFF2 is widely supported)
- Ensure all colors use web-safe HEX codes
- Group related elements for easier implementation in Shopify
Also Check: Convert Figma to Bricks Page Builder
4. Setting Up Your Shopify Store
Now that your designs are ready, it’s time to bring your online store to life on Shopify. This platform offers a robust and user-friendly interface to build and manage your e-commerce site. In this chapter, we’ll walk you through the essential steps of setting up your Shopify store, from configuring your store settings to adding products and setting up payment gateways.

Introduction to Shopify: Key Features and Benefits
Shopify makes running your online store easy and accessible, even if you don’t know how to code. Its drag-and-drop interface allows you to set up your store quickly and efficiently. No technical skills are required. Your store and customer data are always safe with Shopify’s secure hosting, which includes PCI compliance and an SSL certificate.
Accepting payments is straightforward. Shopify’s built-in payment processing lets you accept credit cards right out of the box, providing a seamless transaction experience for your customers. Plus, all of Shopify’s themes are mobile-ready and responsive by default. This ensures your store looks great on any device, from desktops to smartphones.
Need more features after Figma to Shopify transfers? Shopify has an extensive app ecosystem.
With thousands of add-ons available, you can easily extend your store’s functionality. Whether you need advanced marketing tools, inventory management, or customer service enhancements, there’s an app for that. Tailor your e-commerce site to meet your specific needs and offer the best shopping experience possible.
Creating and Configuring Your Shopify Account
Now, let’s get your store up and running. Follow these steps:
- Go to Shopify.com and click “Start free trial.” Enter your email address, password, and store name.
- Fill in your personal details and business information. Choose your plan (you can change this later)
- Answer a few questions about your business to help Shopify tailor your experience.
More Reading: How to Convert Figma to WooCommerce
Navigating the Shopify Dashboard
At this stage of Figma to Shopify transfer, your dashboard is command central. Here’s what you’ll find:
- Home: Get an overview of your store’s performance
- Orders: Manage customer purchases
- Products: Add and edit your inventory
- Customers: View customer information and purchase history
- Analytics: Track sales, visitor behavior, and more
Take time to explore each section. Familiarize yourself with the layout and options.
Choosing and Customizing a Shopify Theme
After a smooth Figma to Shopify transfer, your theme is your store’s face to the world. Here is how to choose and and set one rightly:
- Go to the Shopify Theme Store from your dashboard. Browse free and paid themes
- Use filters to find themes that match your needs. Preview themes to see how they look with sample data
- Once you’ve chosen, click “Add to theme library.” In your dashboard, go to Online Store ⟶ Themes and click “Customize” on your chosen theme
5. Integrating Figma Designs into Shopify
Your beautiful Figma designs are ready to shine, and now it’s time to bring them up on Shopify. Imagine transforming those static images into a fully functional online store where every element looks exactly as you planned. This chapter is where the magic happens.
Importing Design Assets into Shopify
Now it’s time to bring your Figma designs to life by importing your design assets into Shopify. This process involves transferring all the visual elements you’ve meticulously crafted in Figma into your Shopify theme.

- In your Shopify admin, go to Online Store ⟶ Themes. Click Actions ⟶ Edit code on your current theme.
- In the left sidebar, find the Assets folder. Click Add a new asset.
- Upload your exported Figma files (images, icons, etc.) Note the file URLs for use in your theme customization.
Check More: Simplifying Figma to Elementor Conversion
Customizing Shopify Themes with Your Figma Designs
Let’s make your store match your vision by customizing your Shopify theme with the elements you’ve designed in Figma. This involves tweaking various aspects of the theme to align with your design specifications.
- In the theme editor, navigate to the section you want to change.
- Look for options to upload custom images or change colors.
- Use the HEX codes from your Figma design for exact color matches.
- For images, use the asset URLs you noted earlier.
- Adjust typography settings to match your Figma designs as closely as possible.
Using Shopify’s Theme Editor
The theme editor is your main tool for making visual and structural changes to your store’s layout and appearance.
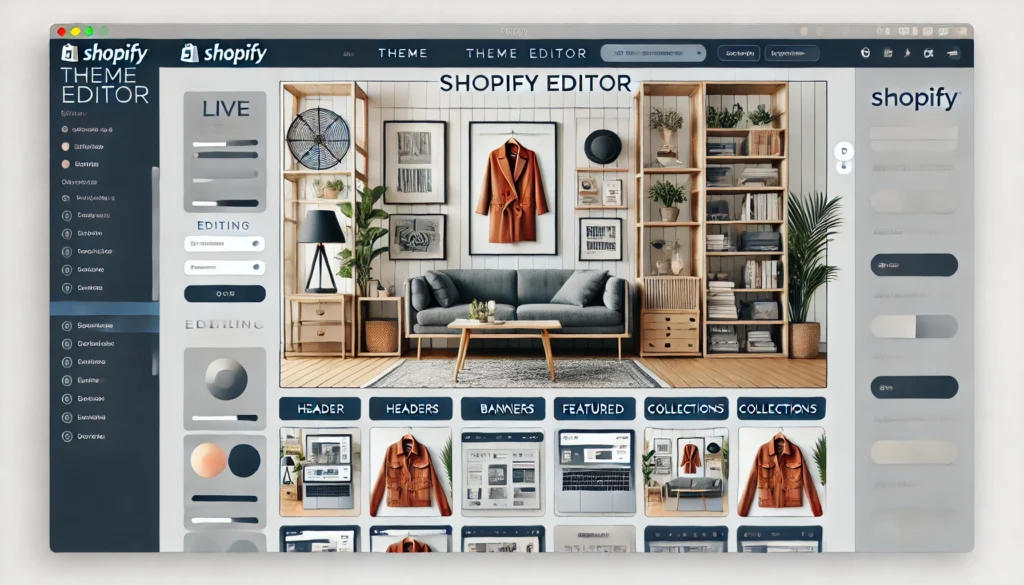
- Sections: Add, remove, or reorder content blocks.
- Theme settings: Change colors, fonts, and global styles.
- Preview: See how your store looks on different devices.
- App blocks: Integrate functionality from Shopify apps.
Save your changes frequently and use the “Undo” button if needed.
Leveraging Shopify Apps for Additional Functionality
Enhance your store’s functionality with Shopify apps after the Figma to Shopify transfer. This section covers finding and integrating the right apps to meet your specific needs.
- Go to the Shopify App Store from your dashboard.
- Search for apps that match your needs (e.g., “product customizer,” “upsell”).
- Read reviews and check compatibility with your theme.
- Install promising apps and follow their setup instructions.
- Test thoroughly to ensure they work well with your design.
Keep Reading: Top Websites for Finding Figma to WordPress Freelancers
Parting Thoughts: Bumps on the Figma to Shopify Road
You’ve done it! Your Figma designs are now living in Shopify. Now is the time to chat about some hurdles you might be hitting along the way, like these:
Design vs. Reality: Sometimes your perfect designs from Figma to Shopify are not translated well. It happens. Shopify themes have their own way of doing things. You might need to bend a bit to make it work. Be ready to adjust your vision.
Responsive Layout: Designs that look great on your big screen might go wonky on phones. It’s a common headache. Test your store on every device you can get your hands on. Then test some more.
Font Frustrations: Shopify can be picky about fonts. Your favorite typeface might not play nice with the platform. You’ll probably need to hunt for similar options or figure out custom font tricks. It’s a pain, but you’ll get there.
Plugin Problems: Miss your go-to Figma plugins after the Figma to Shopify transfer? Shopify won’t have them. You’ll need to find Shopify apps that do similar jobs. Sometimes, you’re out of luck. Be prepared to get creative.
Performance Issues: Those crisp, high-res Figma images might slow your store to a crawl. You’ll have to balance looks and speed. It’s like walking a tightrope, but you’ve got this.
Learning Curve: Shopify’s code can feel like a foreign language if you’re not a tech whiz. Don’t sweat it. Everyone starts somewhere. Dive into Shopify’s guides or ask for help when you’re stuck, or get pro help from us!
These bumps in the road are normal. Everyone hits them. Stay cool and keep at it. Your Figma masterpiece will shine in Shopify – it just needs some TLC to get there.


