Creating a website that reflects your design vision is critical to establishing a strong online presence. Converting Figma to WordPress can be a straightforward process with the right tools. One such tool is Zion Builder, a powerful page builder that offers flexibility and ease of use for building WordPress websites. In this article, we will walk you through the entire process of converting your Figma design into a WordPress website using Zion Builder.
Table of Contents
ToggleWhy Choose Zion Builder for WordPress?
Before diving into the technical aspects, let’s explore why Zion Builder is an excellent choice for building WordPress websites. Zion Builder is known for:
- Ease of Use: It offers a drag-and-drop interface, making it beginner-friendly.
- Customization Flexibility: You can create custom layouts without being restricted by themes.
- Performance: Zion Builder is lightweight, ensuring your website runs fast and efficiently.
- Responsiveness: It ensures your website looks great on all devices by providing responsive design options.
These features make Zion Builder an ideal tool for converting static Figma designs into interactive websites.
Effortlessly Convert Figma to WordPress with Zion Builder
With our expertise, you can focus on your vision while we seamlessly convert your Figma designs into a responsive WordPress website using Zion Builder.
Read: How to Create Figma to Elementor WordPress Template
Steps to Convert Figma to WordPress Using Zion Builder
This guide will cover each step of the process, from exporting Figma assets to building responsive pages using Zion Builder.
Step 1: Prepare Your Figma Design for Conversion
The first step in converting your Figma design to WordPress is preparing the design for export. This involves organizing your design elements. Follow these steps:
- Organize Layers: Ensure that all layers in your Figma design are well-labeled and organized into groups. This will make it easier to export specific elements like images, icons, and buttons.
- Use Grids and Layouts: Zion Builder works well with a structured grid system. So, make sure your design follows a consistent layout grid to ensure seamless translation to WordPress.
- Optimize Images: Ensure that all images in your Figma design are optimized for web use. Depending on their purpose, you can export images in different formats (PNG, JPEG, SVG).
Once your design is ready, it’s time to export the assets.
Check it out: Figma Config 2024 Newest Features
Step 2: Export Figma Assets
You’ll need to export key assets like images, icons, and other design elements to bring your Figma design into Zion Builder. Here’s how you can do this:
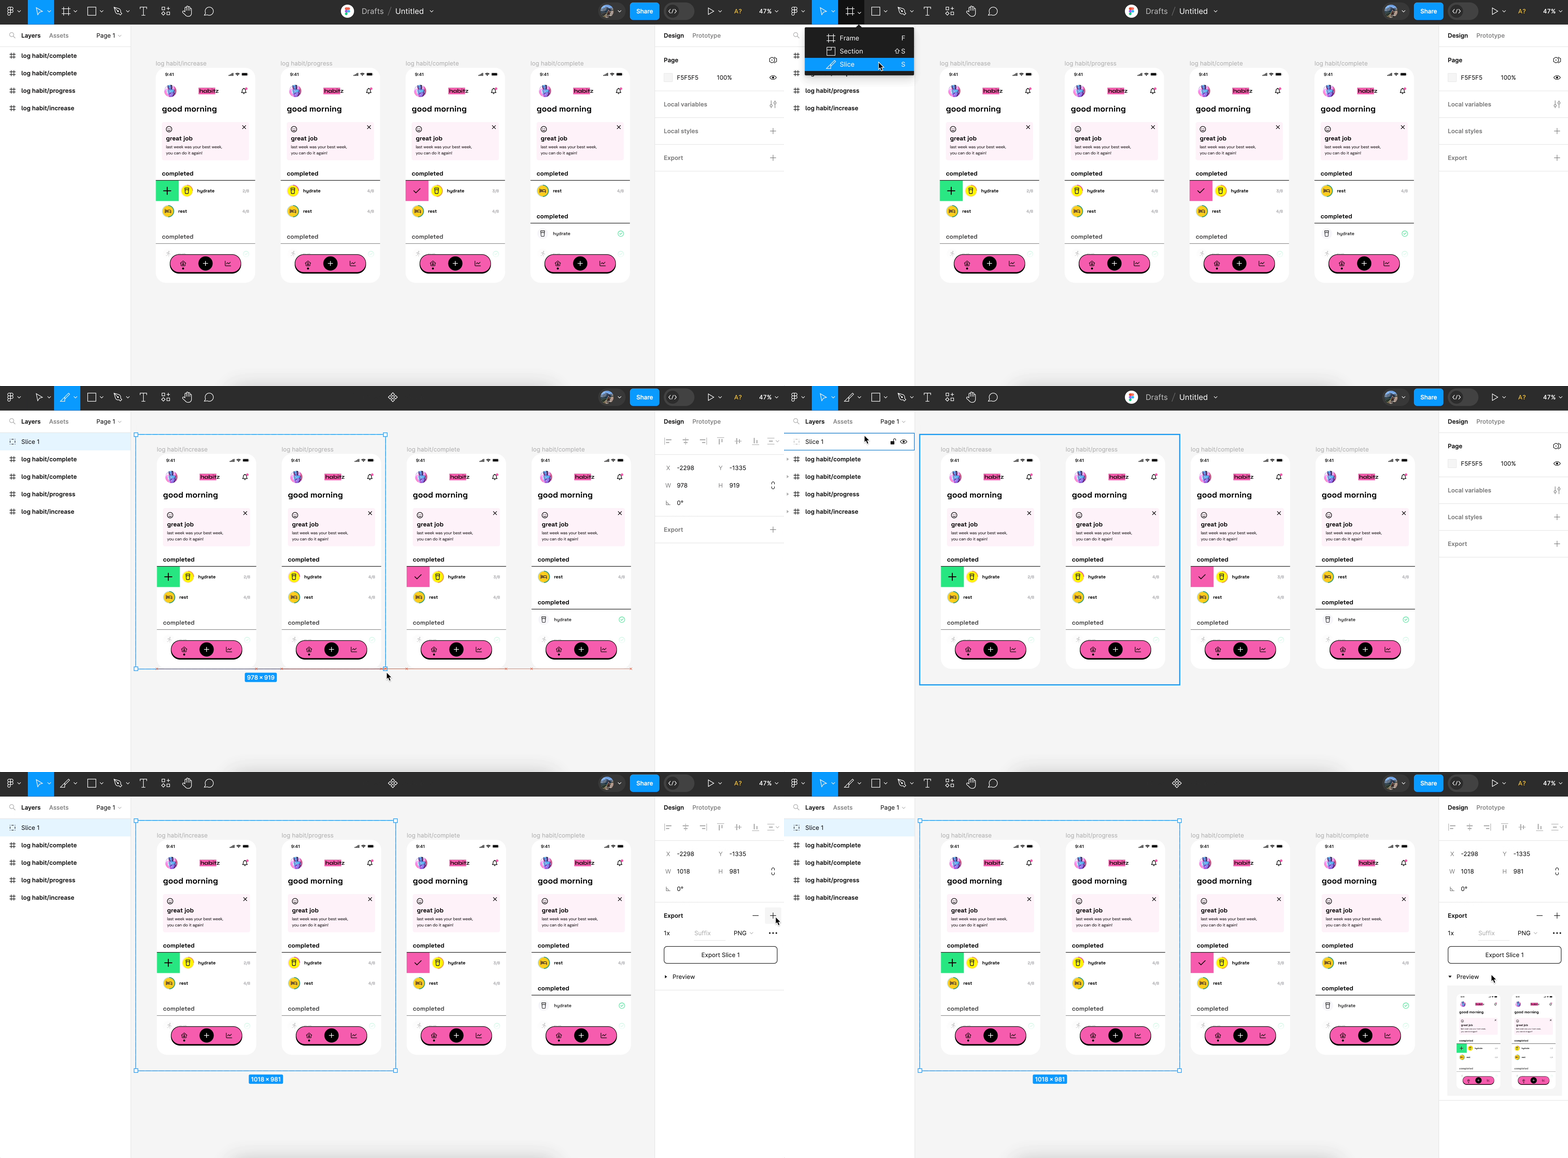
- Select the Asset: Click on the element you want to export in Figma.
- Export Settings: Go to the “Export” section in the right sidebar. Choose the format (PNG, JPEG, or SVG) and the resolution for the asset.
- Export Multiple Elements: You can select multiple layers or elements and export them all at once.
- Save Assets Locally: Once you’ve chosen your settings, click the “Export” button and save the assets to your computer.
You now have all the visual components needed to recreate your Figma design in WordPress.
Read: Best Figma to WordPress Conversion Tools
Step 3: Install WordPress and Zion Builder
Now that you have the necessary design assets, it’s time to install WordPress and Zion Builder. Follow these steps:
- Install WordPress: If you haven’t already, install WordPress on your domain. Most hosting providers offer one-click WordPress installation.
- Install Zion Builder Plugin: Navigate to the WordPress dashboard, go to “Plugins,” click “Add New,” and search for Zion Builder. Install and activate the plugin.
- Choose a Theme: Zion Builder works with any WordPress theme, but choosing a lightweight theme is recommended to ensure optimal performance.
Once the plugin is installed and activated, you can start building your website.
Guide to: Converting Figma Designs to HTML Code
Step 4: Recreate the Design in Zion Builder
You’ll now rebuild your Figma design using Zion Builder’s drag-and-drop editor.
- Create a New Page: In the WordPress dashboard, go to “Pages,” click “Add New,” and give your page a title.
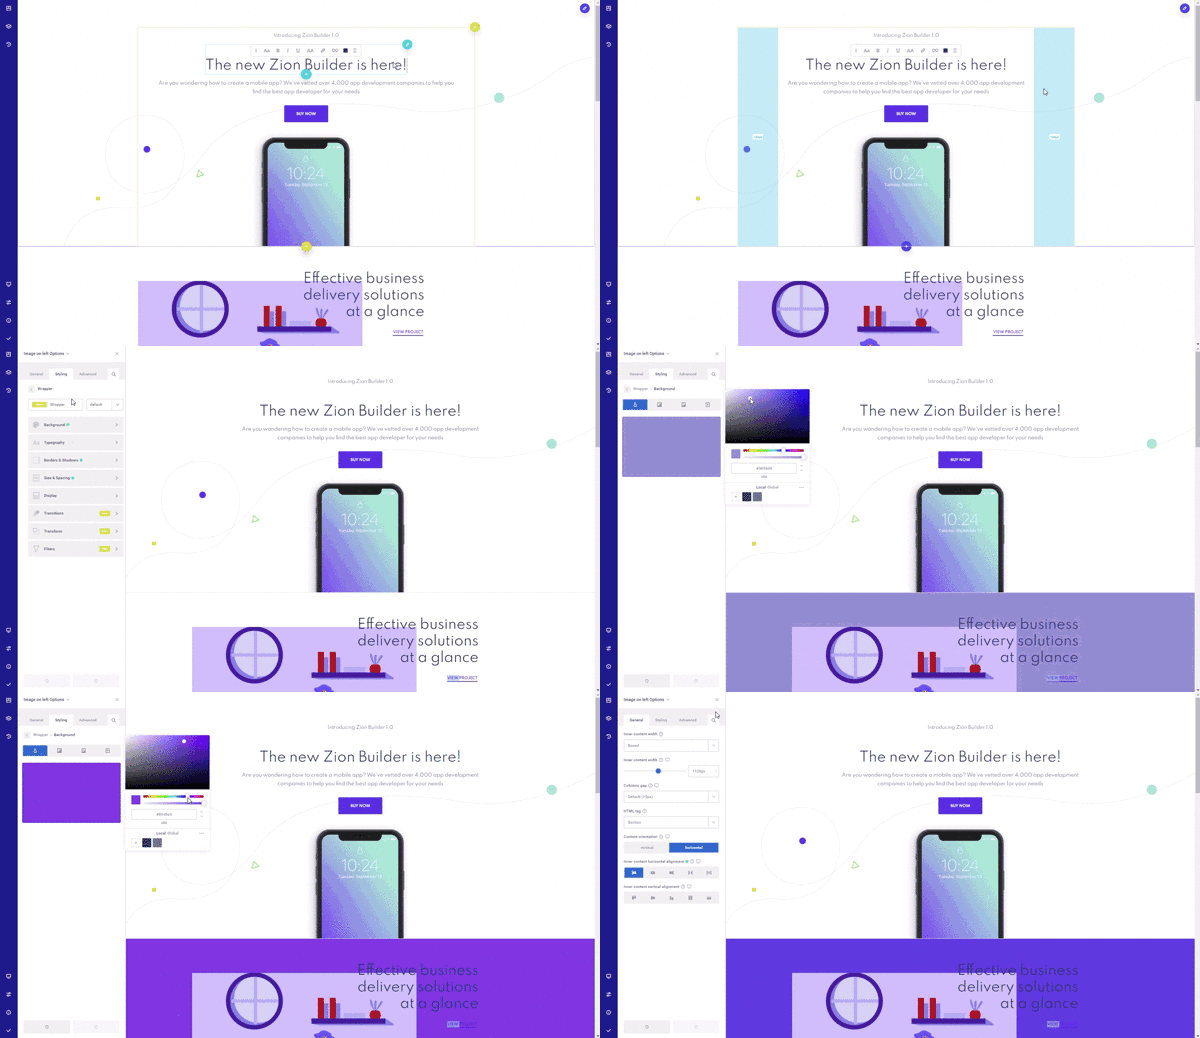
- Launch Zion Builder: Click on the “Edit with Zion Builder” button to open the Zion Builder editor.
- Add Layouts and Sections: Create the layout grid matching your Figma design. Zion Builder allows you to add rows and columns, just like in Figma.
- Import Design Elements: Use the assets you exported from Figma. For images, click on the “Image” element in Zion Builder and upload the image from your computer.
- Customize Styling: Zion Builder gives you full control over colors, fonts, padding, margins, and other design elements. Use these options to match your Figma design precisely.
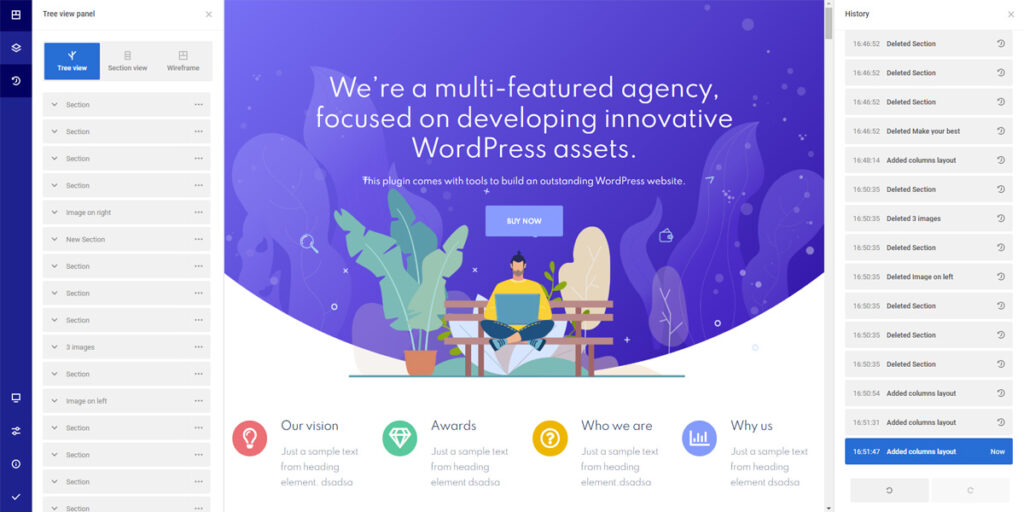
- Responsive Design: Ensure that your website looks great on all screen sizes. Zion Builder lets you preview and customize your design for mobile, tablet, and desktop views.
Best Techniques and Strategies for: Responsive Design in Figma
Step 5: Add Functionality
Figma designs are static by nature, but websites need to be dynamic. Zion Builder allows you to add interactive elements like buttons, forms, and animations.
- Buttons: You can easily add buttons and link them to other pages on your site.
- Forms: Use a form builder to create contact forms, subscription forms, or other interactive features.
- Animations: Zion Builder also offers simple animations that can enhance the user experience.
Once you’ve added the necessary functionality, your website is almost complete.
Complete Guide to: Maintaining Figma Animations in WordPress
Step 6: Test and Launch Your Website
Before launching your website, testing its performance and responsiveness is crucial.
- Test Responsiveness: Use Zion Builder’s responsive design options to ensure your website looks good on all devices.
- Check Speed: Use tools like Google PageSpeed Insights or GTmetrix to check your website’s loading speed. Zion Builder is known for being lightweight, but optimizing images and scripts will help improve performance.
Once everything looks perfect, hit the publish button to make your website live.
Learn about: Figma to WordPress Benefits
Summary
Converting Figma designs to WordPress using Zion Builder is a straightforward process. With its drag-and-drop editor, you can recreate any design without extensive coding knowledge. Zion Builder simplifies every step, from preparing your Figma assets to launching a fully functional WordPress website. This makes it an ideal tool for designers and developers looking to bridge the gap between design and development.
By following this guide, you can turn your Figma designs into a high-performance WordPress website using Zion Builder, ensuring that your site is both visually appealing and fully responsive.
FAQs on Figma to WordPress Using Zion Builder
What is Zion Builder, and why should I use it for WordPress?
Zion Builder is a drag-and-drop page builder for WordPress that allows you to create custom layouts without coding. It’s easy to use, lightweight, and offers customization features, making it ideal for converting designs into functional websites.
Do I need coding knowledge to use Zion Builder?
No, Zion Builder is designed for users of all skill levels. Its intuitive interface allows you to build complex layouts without writing a single line of code.
Can I use Zion Builder with any WordPress theme?
Yes, Zion Builder works with any WordPress theme, but it’s recommended to use a lightweight theme for optimal performance.
How do I make sure my Figma design is responsive in Zion Builder?
Zion Builder offers built-in responsive design tools. You can preview and adjust your layout for mobile, tablet, and desktop views to ensure that your site looks good on all devices.
What are the benefits of using Zion Builder over other page builders?
Zion Builder stands out for its performance, flexibility, and ease of use. It’s lightweight, meaning it won’t slow down your website, and it offers powerful customization options without the complexity of other page builders.

