Thrive Architect is a visual landing page builder for WordPress that helps users create responsive and dynamic websites without coding. By leveraging this powerful tool, you can ensure that your Figma design translates seamlessly into WordPress. In this Figma to WordPress blog, we’ll dive deep into best practices and essential tips for integrating your Figma designs into WordPress using Thrive Architect. Whether you are a beginner or a seasoned web designer, these tips will help streamline your workflow and improve your results.
Table of Contents
TogglePreparation Stage: Start with a Solid Design Plan in Figma
Before converting Figma design to WordPress, ensuring your Figma design is well-structured is crucial. Figma allows you to create responsive designs, wireframes, and prototypes, making it a powerful tool to plan your website. However, how you design in Figma can greatly affect how easily you can convert that Figma design into WordPress.
Best Practices for Design in Figma
- Ensure your design is aligned to a grid system. This will make it easier to maintain a consistent layout when you start working with Thrive Architect.
- Group similar elements and name layers clearly in Figma. Well-organized layers make it simpler to map out your design when building in WordPress.
- Thrive Architect offers responsive editing, but it’s easier to ensure responsiveness if you design for mobile and desktop from the beginning.
- Keep in mind that images, icons, and fonts should be easy to export from Figma. Ensure that the resolution and file formats are web-appropriate (e.g., .png, .jpg, .svg).
Taking these steps during the design phase will help you save time and avoid confusion when integrating your Figma design into WordPress.
Turn Your Figma Masterpiece into a WordPress Wonder
With Thrive Architect, we’ll transform your design into a fully functional, stunning website. Let’s build something brilliant together!
Conversion Guide for Figma to WordPress with Thrive Architect
Once your design is complete in Figma, setting up your WordPress environment is the next step. This ensures a smooth experience when using Thrive Architect for the design integration.
Step 1: Prepare WordPress
When installing WordPress, ensure you use a clean installation. Also, use a reliable hosting provider that guarantees fast loading times.
- Install and Activate Thrive Architect: After WordPress installation, make sure you have the latest version of Thrive Architect activated.
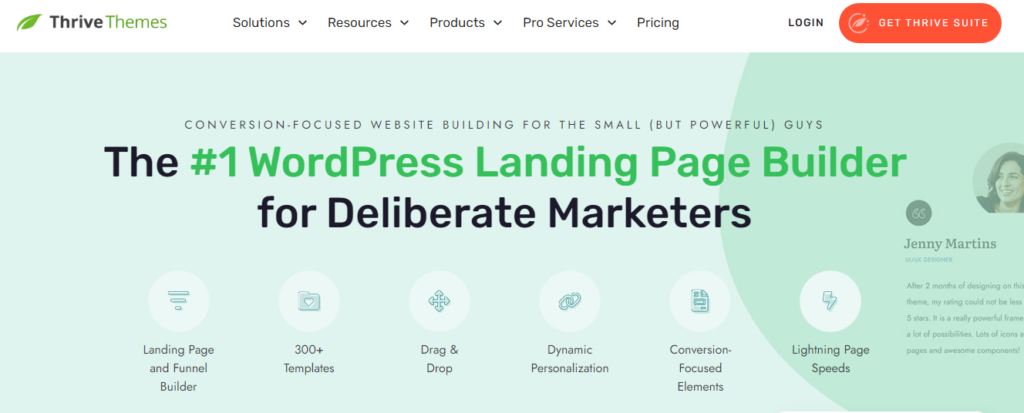
- Choose a Minimalist Theme: Thrive Architect works best with minimalist WordPress themes. You don’t want a theme that imposes its own styling, as this can interfere with your design.
Learn: How to Optimize Figma Designs for WordPress Page Speed and Performance
Step 2: Break Down the Figma Design into Sections
Before starting with Thrive Architect, it’s helpful to break down your Figma design into sections. This approach simplifies the building process and ensures consistency across your web pages.
Key Sections to Focus on
- Header and Navigation: This section typically includes your logo, navigation menu, and call-to-action (CTA) buttons.
- Hero Section: The hero section is often the first thing visitors see. It includes your main headline, supporting text, and possibly a CTA.
- Content Blocks: Figma allows you to design individual content blocks for blog posts, services, or testimonials. You can easily recreate these using Thrive Architect’s building blocks.
- Footer Section: Include all necessary footer elements, such as contact details, links, and social media icons.
By breaking down your design into these sections, you can easily map each part in Thrive Architect.
Read: Best Tips and Tricks for Figma to WordPress Conversion
Step 3: Use Thrive Architect’s Drag-and-Drop Functionality
One of the best features of Thrive Architect is its intuitive and user-friendly drag and drop interface. This allows you to recreate your Figma design in WordPress without any coding knowledge.
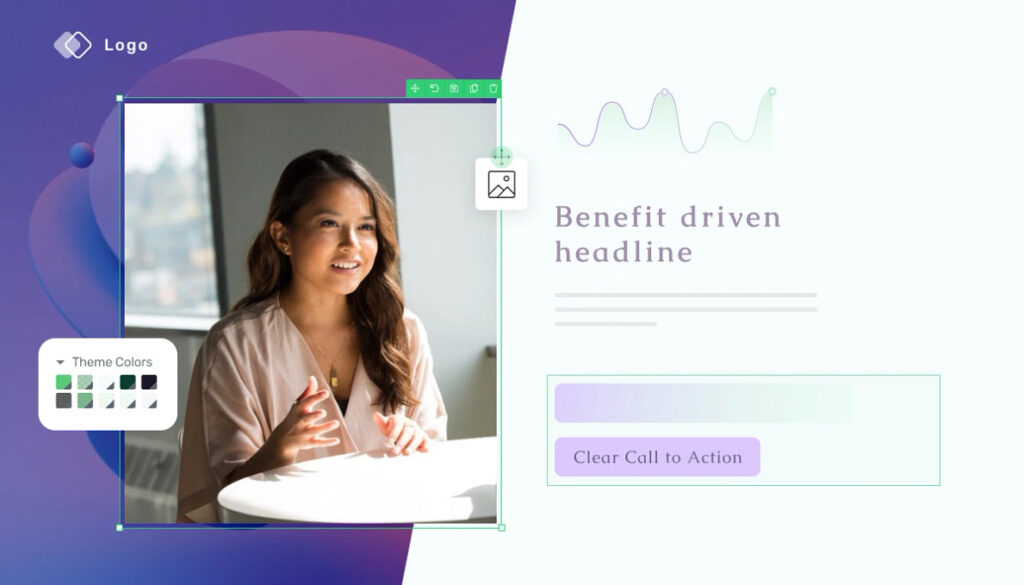
How to Make the Most of Thrive Architect’s Features
- Use Pre-Built Elements: Thrive Architect comes with a variety of pre-built elements, like buttons, content boxes, and testimonials. Instead of manually creating each element from scratch, use these to save time.
- Customize Layouts: Use the “Columns” feature in Thrive Architect to recreate the exact layout structure from Figma. You can easily adjust padding, margins, and spacing to match your design.
- Ensure Consistency with Global Styles: Set up global styles for typography and buttons early on. This will ensure that your design looks consistent across all pages.
This step ensures that your website closely mirrors the original Figma design while retaining the flexibility to adapt the design where necessary.
Learn: Figma Config 2024 Newest Features
Step 4: Pay Attention to Mobile Responsiveness
Thrive Architect makes it easy to adjust your design for different screen sizes.
How to Ensure Mobile Responsiveness
- Preview and Edit for Different Devices: Thrive Architect lets you preview and edit for desktop, tablet, and mobile views. Use this feature to adjust the layout for smaller screens.
- Resize Images and Fonts: Mobile devices often need to resize elements like images and fonts. Thrive Architect allows you to tweak these elements specifically for mobile, ensuring they look perfect on all screen sizes.
- Optimize for Touch: Ensure that buttons and other interactive elements are easily tappable on mobile devices.
By proactively making these adjustments, you can avoid common mobile usability issues.
Know more: Responsive Design in Figma
Step 5: Optimize for Performance
Performance optimization is an often-overlooked aspect of web design, but ensuring your site loads quickly is essential. A slow website can lead to a poor user experience and negatively affect your SEO.
Performance Optimization Tips
- Compress Images: Large images can slow down your website. Use tools like TinyPNG or ImageOptim to compress images before uploading them to WordPress.
- Minimize the Use of External Plugins: Only use necessary plugins, as too many can slow down your website.
- Use a Caching Plugin: Caching plugins like W3 Total Cache or WP Super Cache can help improve loading times by storing a static version of your website.
Optimizing your website’s performance ensures that users have a smooth experience and that your site ranks well on search engines.
Also read: How to Maximize SEO Performance in Figma to WordPress Conversions
Step 6: Test Your Website Before Launch
Before going live, it’s crucial to test your website. This will help you catch any design or functionality issues that may have been missed during the build.
Checklist for Website Testing
- Cross-Browser Compatibility: Ensure your website looks and functions well across different browsers, including Chrome, Firefox, Safari, and Edge.
- Check for Broken Links: Use tools like Screaming Frog or a broken link checker tool to ensure all links work correctly.
- Form Functionality: If your website includes forms, ensure they function properly and submit data to the right place.
Conducting thorough tests ensures a smooth user experience post-launch. Need help with any other design conversion service using a different page builder? Get in touch with us!
Further reading: Learn about Design Accessibility
To Sum Up
Thrive Architect is a powerful tool that simplifies the process, allowing you to focus on design without worrying about the technicalities of coding. From creating a solid design in Figma to utilizing Thrive Architect’s drag-and-drop functionality, the journey from design to a fully functional WordPress site doesn’t have to be overwhelming.
By keeping mobile responsiveness, performance optimization, and thorough testing in mind, you can ensure your website not only looks great but also functions flawlessly. With these tips, you’ll be better equipped to translate your creative vision from Figma to WordPress in a seamless manner. Need a bespoke website? Learn about our custom WordPress development services.
FAQs on Figma to WordPress Site Using Thrive Architect
Can I import my Figma design directly into Thrive Architect?
No, Thrive Architect doesn’t support the direct import of Figma files. You will need to manually recreate your Figma design using Thrive Architect’s visual editor.
What’s the biggest challenge in converting Figma to WordPress with Thrive Architect?
One common challenge is ensuring that the design remains responsive across all devices. Thrive Architect makes this easier by allowing you to preview and edit responsive designs for different screen sizes.
Is it necessary to know coding to use Thrive Architect?
No, Thrive Architect is a no-code tool. You can create and customize your WordPress site using its drag-and-drop editor without needing any coding skills.
How can I ensure my WordPress website loads fast after converting it from Figma to Thrive?
Optimize images before uploading, use a caching plugin, and minimize the number of plugins on your site. These steps will help improve loading times.
Do you work on a one-off design conversion project or only bulk agency orders?
We work on both one-off design conversion projects and bulk agency orders. Each project receives a custom quote based on specific requirements.
How long does it take to convert a Figma design into a WordPress website, irrespective of the page builder?
The time to convert a Figma design into a WordPress website can vary depending on the complexity and number of pages. However, it typically ranges from 1 to 3 weeks.

